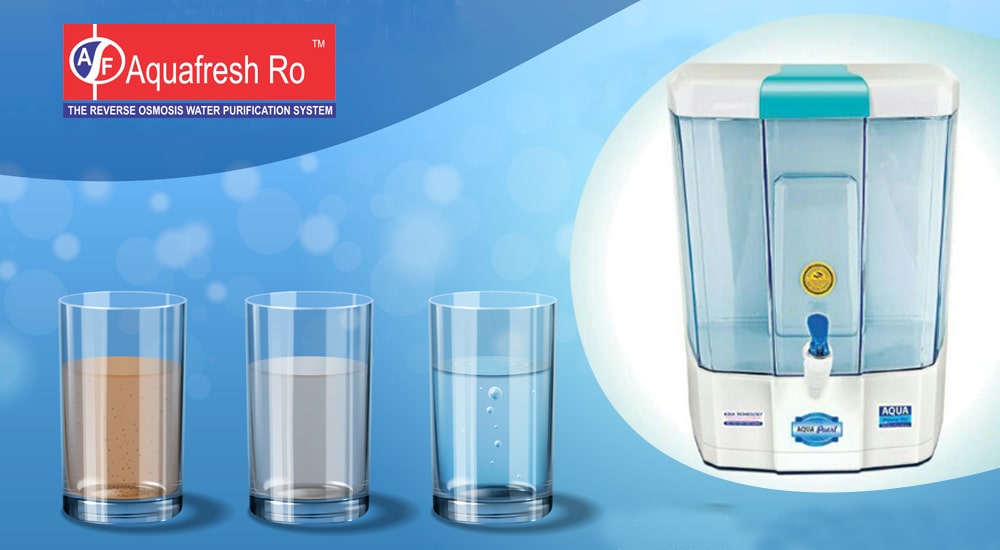
Regularly replacing the filters in your best Aquafresh RO system is crucial for maintaining clean and safe drinking water. Though it may seem daunting, the process is straightforward when broken down into simple steps. Here's how you can efficiently replace your filters.
Step 1: Know When to Replace the Filters
Each filter in your Aquafresh RO system has a specific lifespan, which can vary depending on water quality and usage:
- Pre-filters: Replace every 6 to 12 months.
- Carbon filters: Also need replacement within 6 to 12 months.
- RO membrane: Lasts longer, about 18 to 24 months.
- Post-filters: Typically require changing after one year.
Reduced water flow or changes in taste are clear signs that your filters need to be replaced.
Step 2: Gather the Necessary Tools
Before starting the replacement, make sure you have these essentials:
- New filters compatible with your Aquafresh model.
- A filter wrench or spanner (usually included with your system).
- A towel or container to catch spills.
- Gloves, if you prefer handling the filters with clean hands.
Using original Aquafresh filters will ensure proper system performance and avoid compatibility issues.
Step 3: Turn Off the Water Supply
To avoid a mess during the replacement:
- Unplug the system from the electrical outlet if it's powered.
- Open the faucet connected to your RO system to relieve any remaining pressure.
This step is important to ensure a clean and safe filter change.
Step 4: Remove the Old Filters
Once the water supply is off, use your filter wrench to carefully open the filter housings. Be prepared for some water to spill, so place a towel or bucket nearby.
Step 5: Install the New Filters
Now it’s time to install the new filters in their respective housings:
- Insert the pre-filter into the first housing.
- Place the carbon filter into the second housing.
- Fit the RO membrane into its dedicated compartment.
- Finally, install the post-filter in its slot.
Ensure that each filter is correctly positioned and that the O-rings are aligned to prevent leaks.
Step 6: Secure the Filter Housings
Once the new filters are in place, screw the filter housings back on. Use the wrench to tighten them, but avoid over-tightening to prevent damaging the housings or causing leaks. The housings should feel secure but not excessively tight.
Step 7: Restore Water and Power
With the filters in place, turn the water supply back on. If your system uses electricity, plug it back in. Run the water for several minutes to flush out any leftover particles from the filter replacement.
Step 8: Inspect for Leaks
After restoring the water and power, carefully check the filter housings for leaks. If you notice any leakage, tighten the housing slightly using the wrench until the leak stops.
Step 9: Note the Replacement Date
Finally, record the date of your filter replacement. This will help you remember when the next replacement is due. You can also set a reminder on your phone or calendar to keep track of the maintenance schedule.
By following these simple steps, you can ensure your Aquafresh RO system continues to provide clean, safe drinking water for your household. Regular filter replacements will keep your system functioning at its best.


